

Hey designer, have you ever had the case of creating a million versions of the same screen just with very small differences in between? Or have someone asked you to create different prototypes for different stakeholders on the same project with very small differences? Have you ever wished to have a design system that would help you make quick and easy updates?
Of course, you have! So have I.
The struggle without a design system
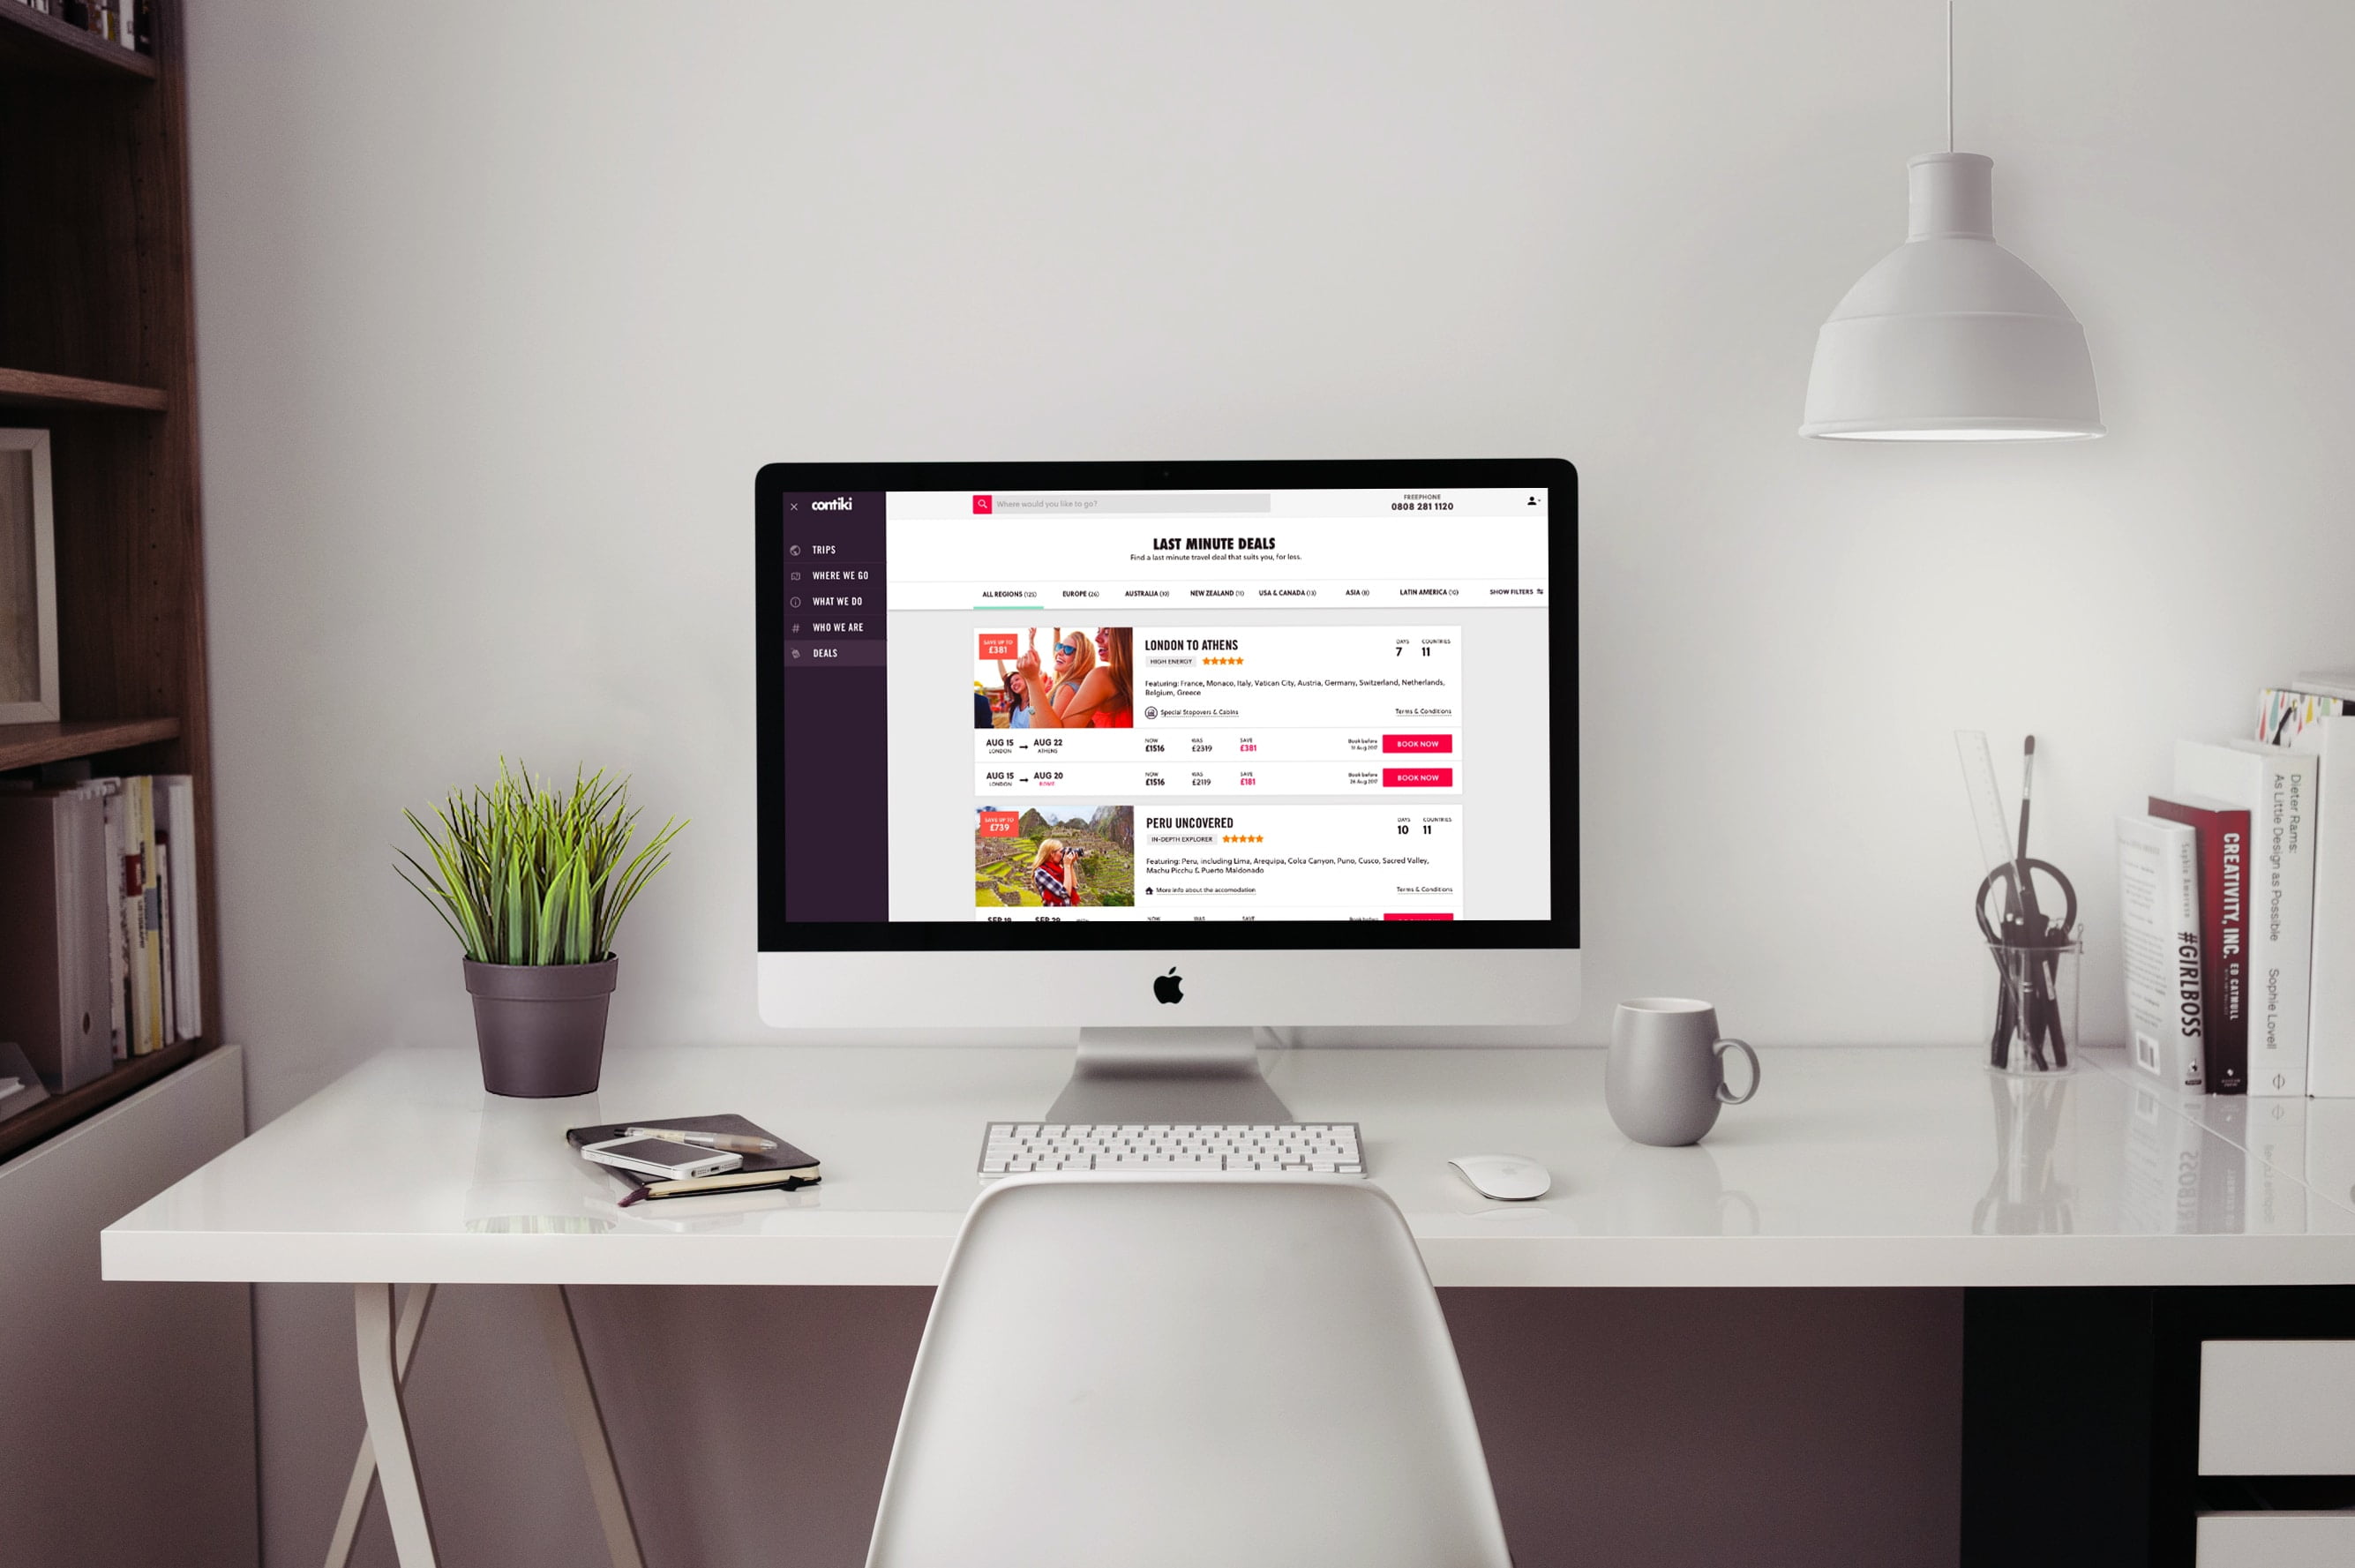
I recently worked on a project where I had to create 3 different prototypes for different people within the businesses. Most of the design elements were the same with very small differences.
They had at least 5-6 versions of a homepage screen where the rest of the pages were with identical UI design.
On a bright, fun Monday, I received feedback on one of those identical elements. I was asked to replace a logo graphic with a different one. The reality I was facing was that I had to update about 50 screens with such a small change. #DesignersFun!
This made me think. I can either sit there and brainlessly update 50 screens one by one, spend a whole day and then someone will ask me to do the same tomorrow or to come up with a way to automate this process.
Тhe choice here is obvious. I had to create an automated design system that can support an unlimited number of changes that I can apply across screens in seconds.
The set-up I used
I design in Sketch, but apart from that I had help with some plugins that helped me to achieve this:
- AutoLayout by Anima
- Sketch Automate by Ashung
- Rename It by rodi01
Divide the design into sections
After you have created the design of your page for desktop or mobile think about how you can divide it into sections. As an example, I will use half of a design I did for a home page.

The sections I have defined are:
- Top Nav Bar
- Header with Search
- Intro Statement
- How it works
- And Instagram Images

Turn the sections into Symbols
The next thing I did is to turn the section into symbols. It is important to make sure that all the symbols have the same width (the size of your artboard) and also include all the paddings.
The easiest way to do this if the section doesn’t go edge to edge is to draw a rectangle around the section and create the symbol with it. When you create your symbol, you can delete the unwanted rectangle.

– I’ve included half of the top and bottom margin I wanted to have in between sections. This is because once you put the sections one above the other, the padding space gets added
– You include the section’s background color – either as an artboard background or just a rectangle with the background color
– I have used the AutoLayout plugin to make the correct alignments to center and lock some of the elements to stay in a fixed position on the artboard.
Create a Symbols Library File
The next step is to copy your symbols into a new sketch file that you would name something like My Project – Library.
Once you migrate your symbols to the new document, you can include it in Sketch as a Library from
Sketch > Preferences > Libraries
Now the last part that is left to do is to link the symbols in your design file to the library. It’s simple – just change the symbols source from the left-hand side.
Organize your design system with structured symbols naming
When you create your symbols for your design and move them to the library file, it’s good practice to name them with some sort of a structure.
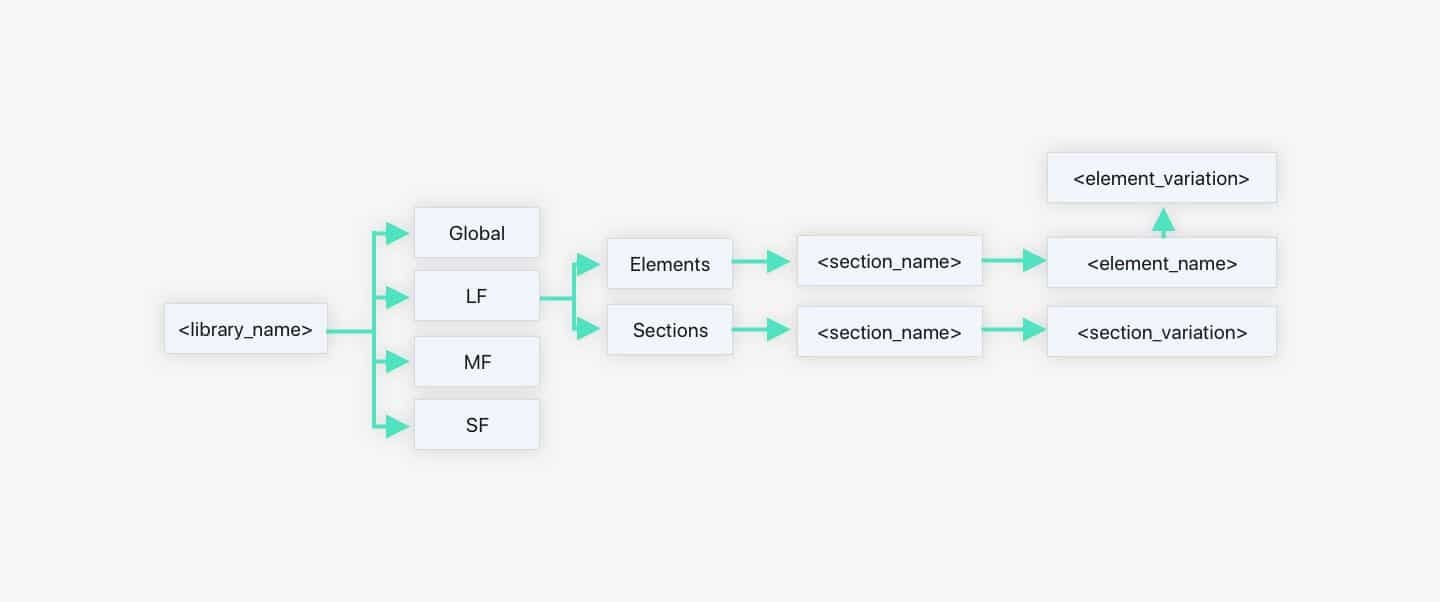
For example, the structure I have used to name the symbols starts with the format I am designing for. Then its divided into Sections and Elements.
Under sections, I have put the complete design sections in the size and format as I would use them to build my pages. Under elements I have put all symbol elements (e.g. icons, and other elements) I have used to build the sections.
After that, I have categorized my symbols by section name. Then under the section name, I have added the different variations of a section.
To help you name your symbols you can use the RenameIt plugin for Sketch that I have mentioned above.
The finished design system
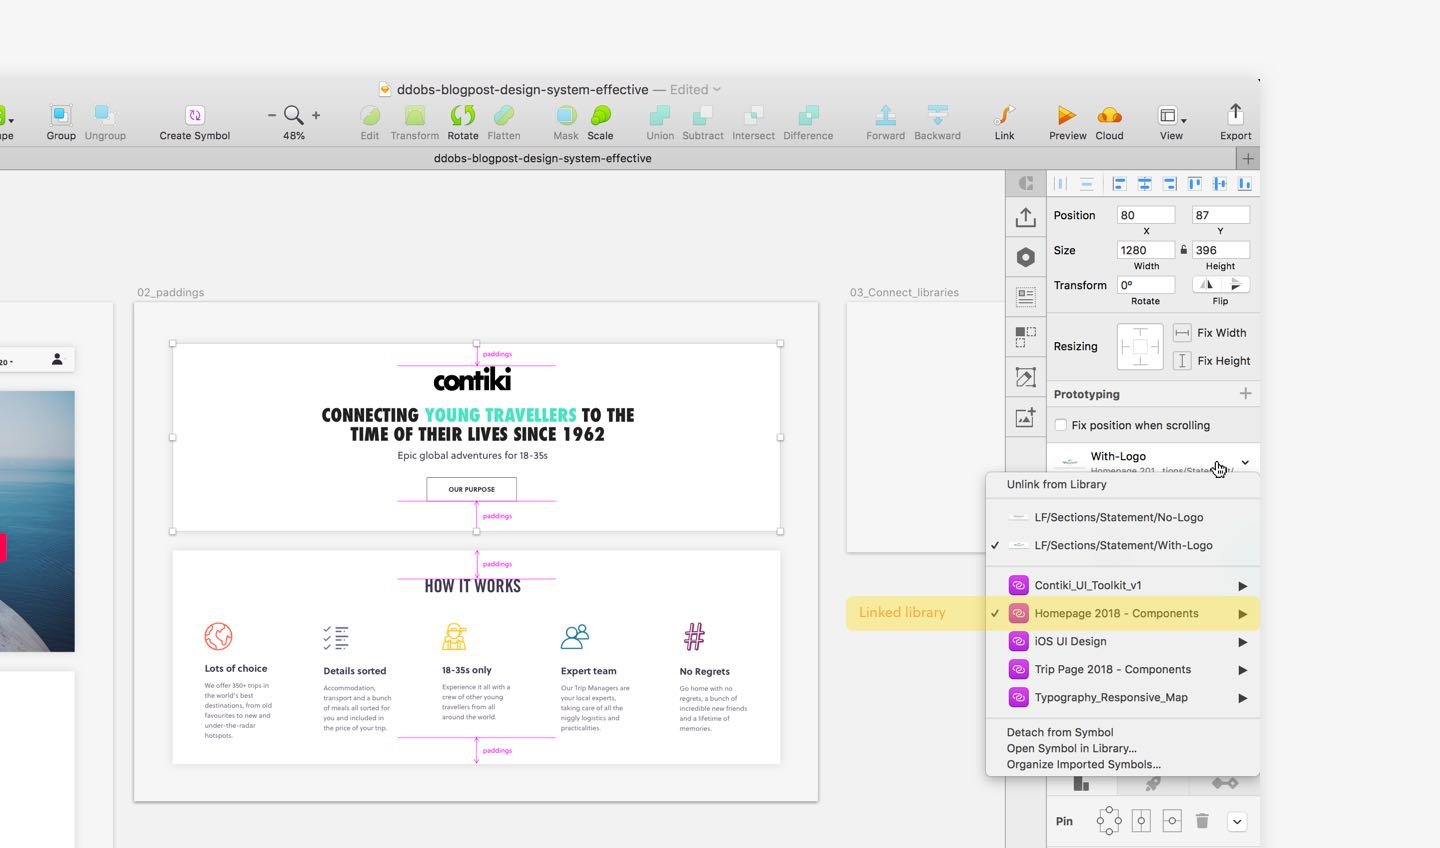
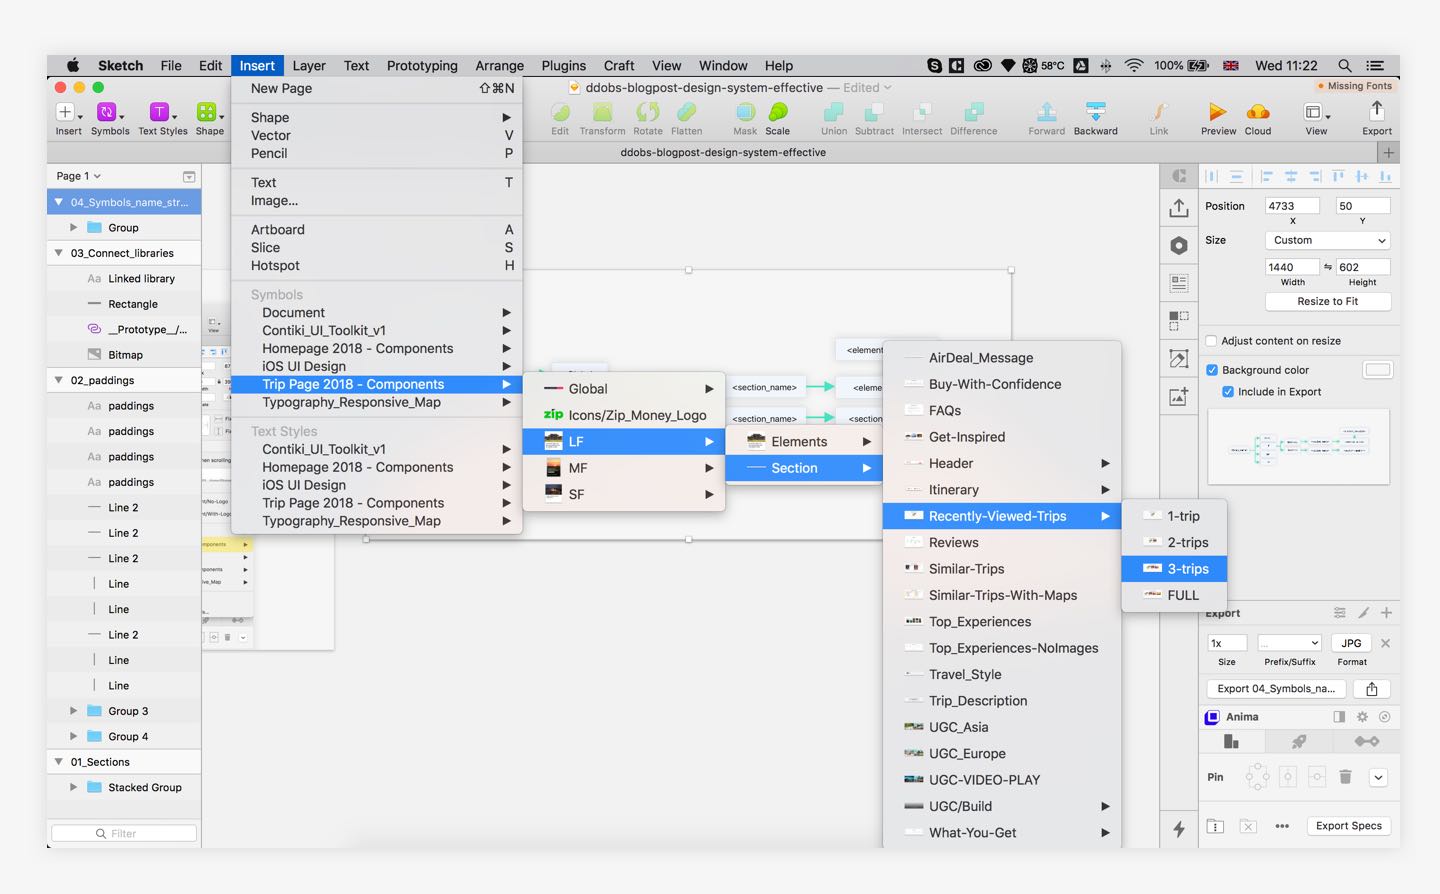
Once you have organized your symbols with correct name structure and you have used them in your designs, you can import any other symbol or variation of a symbol directly from your library. It should look like this:
Note that sometimes when you update a symbol with a different version the height of the new symbol might be different. To update it easily you can use the Automate plugin that has an option to reset the Symbol to its original height.
Updating designs become easy
After all the hard work is done, updating the designs is now easy. Just open up the section you are editing in your library document, make the changes and save it.
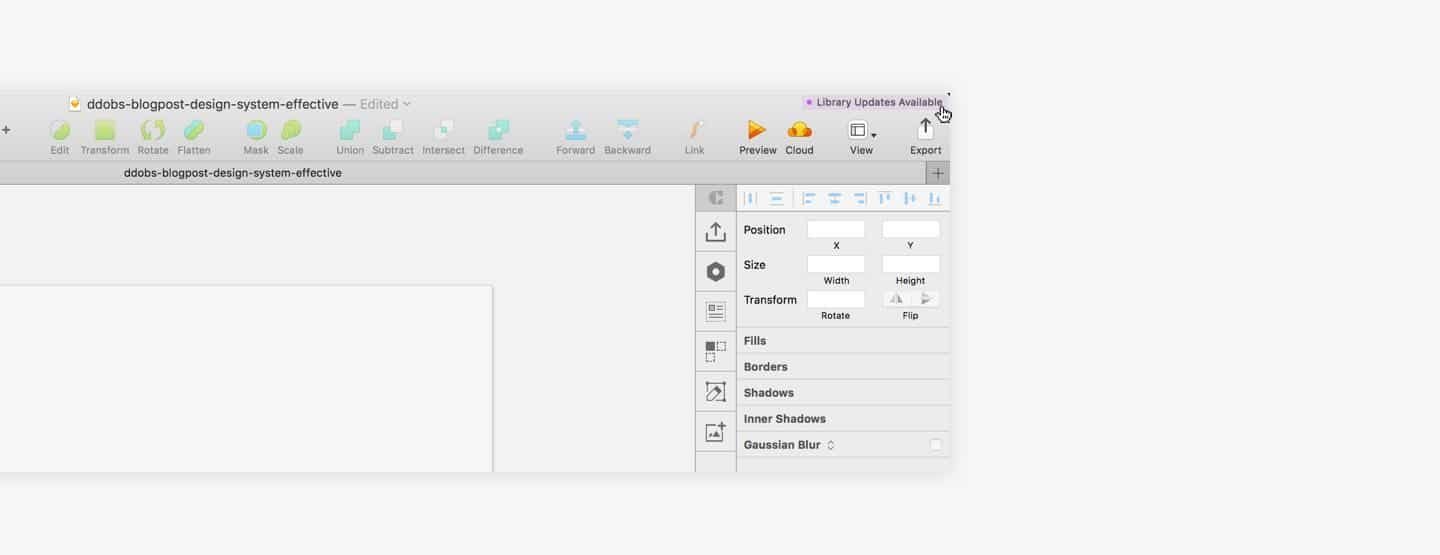
Once you come back to your design file you would see an option from Sketch that will ask you to update your library. The changes will be applied on every single screen and artboard across the file.
Stay up to date! Join our newsletter!
Join our community today and let the most exciting updates come directly to you. Stories, Design Lab items, discounts, new projects and industry insights – all delivered to your inbox.